Last updated November 20, 2026
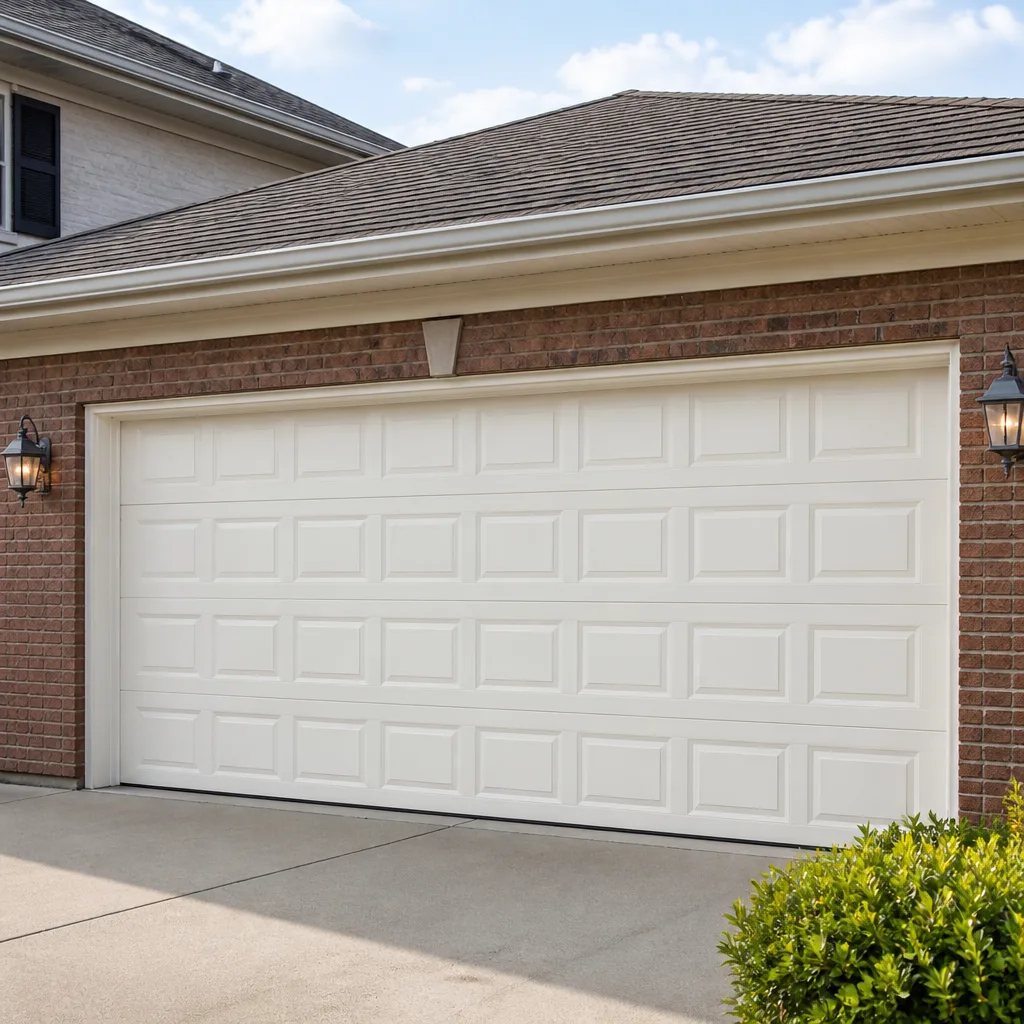 Raised-panel steel
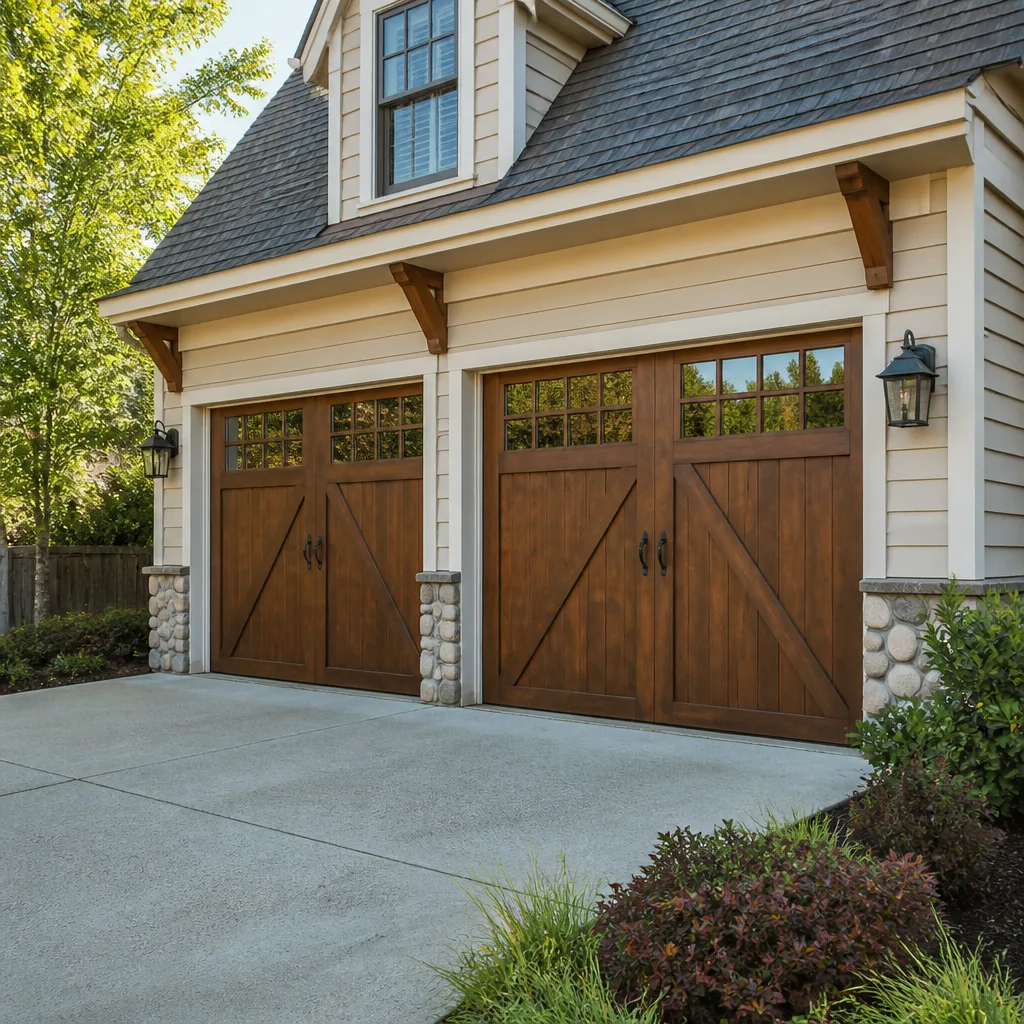 Carriage house
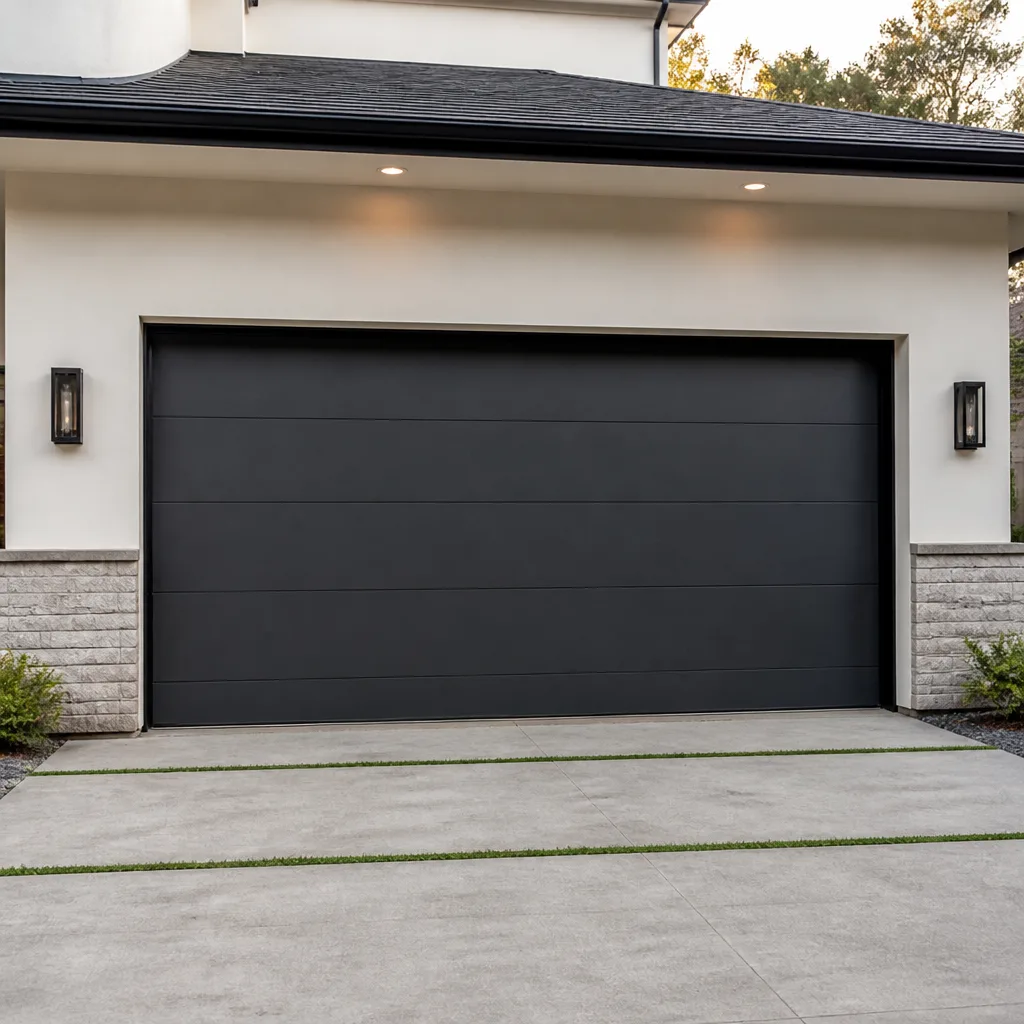 Modern flush
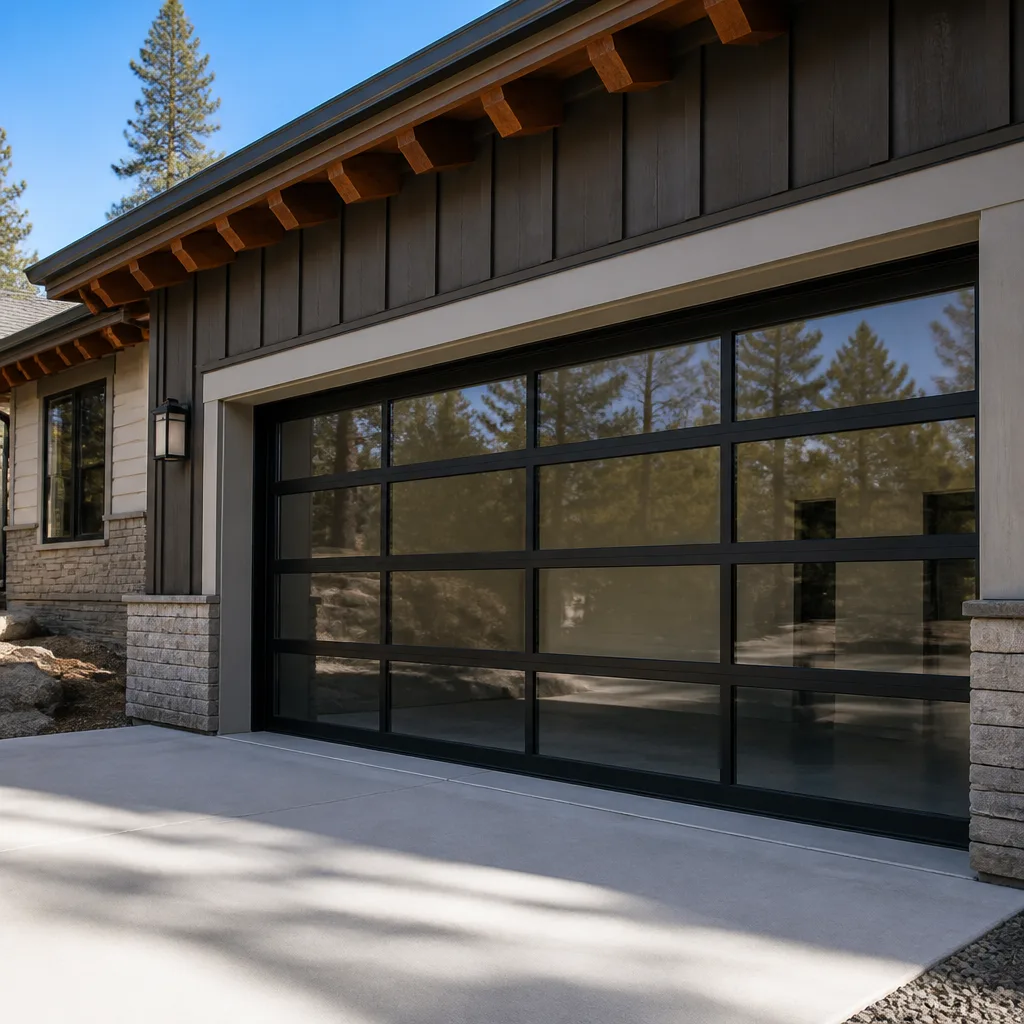 Full-view glass
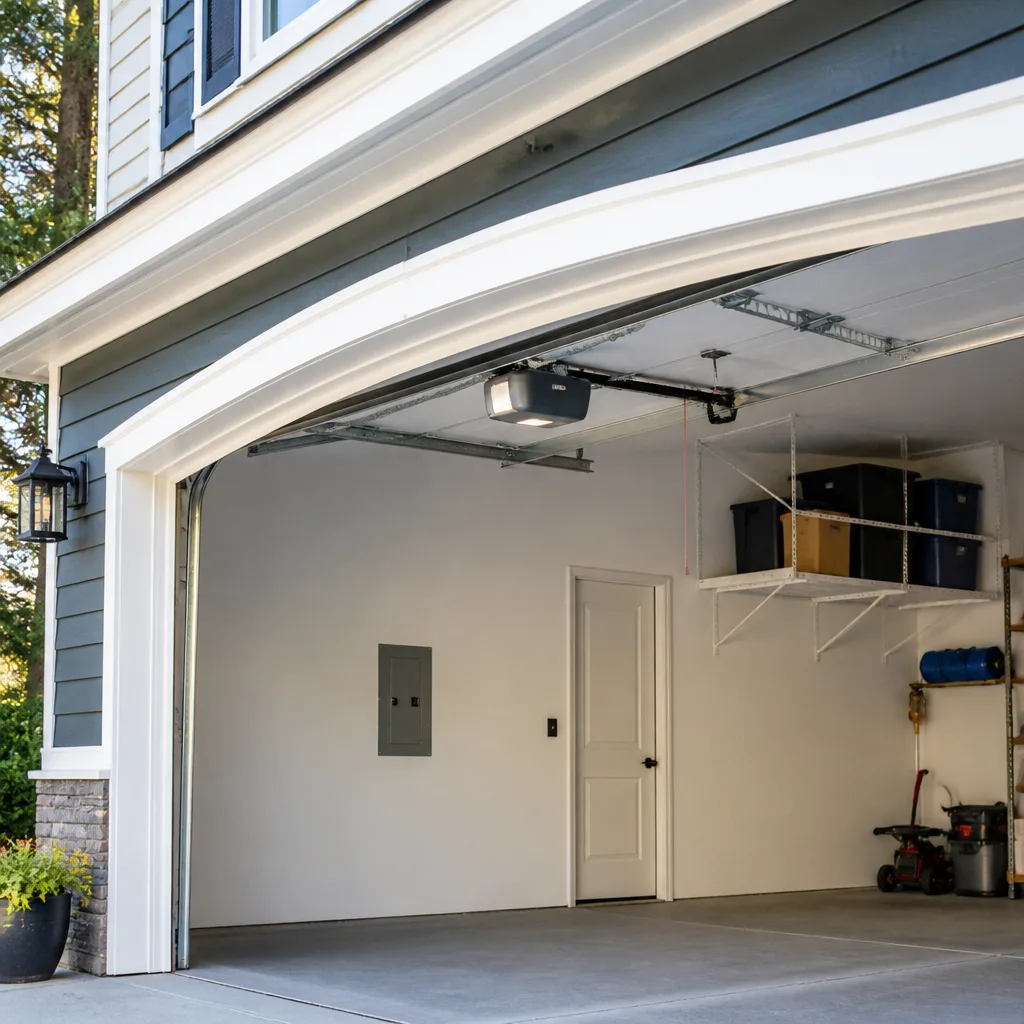 LiftMaster openers
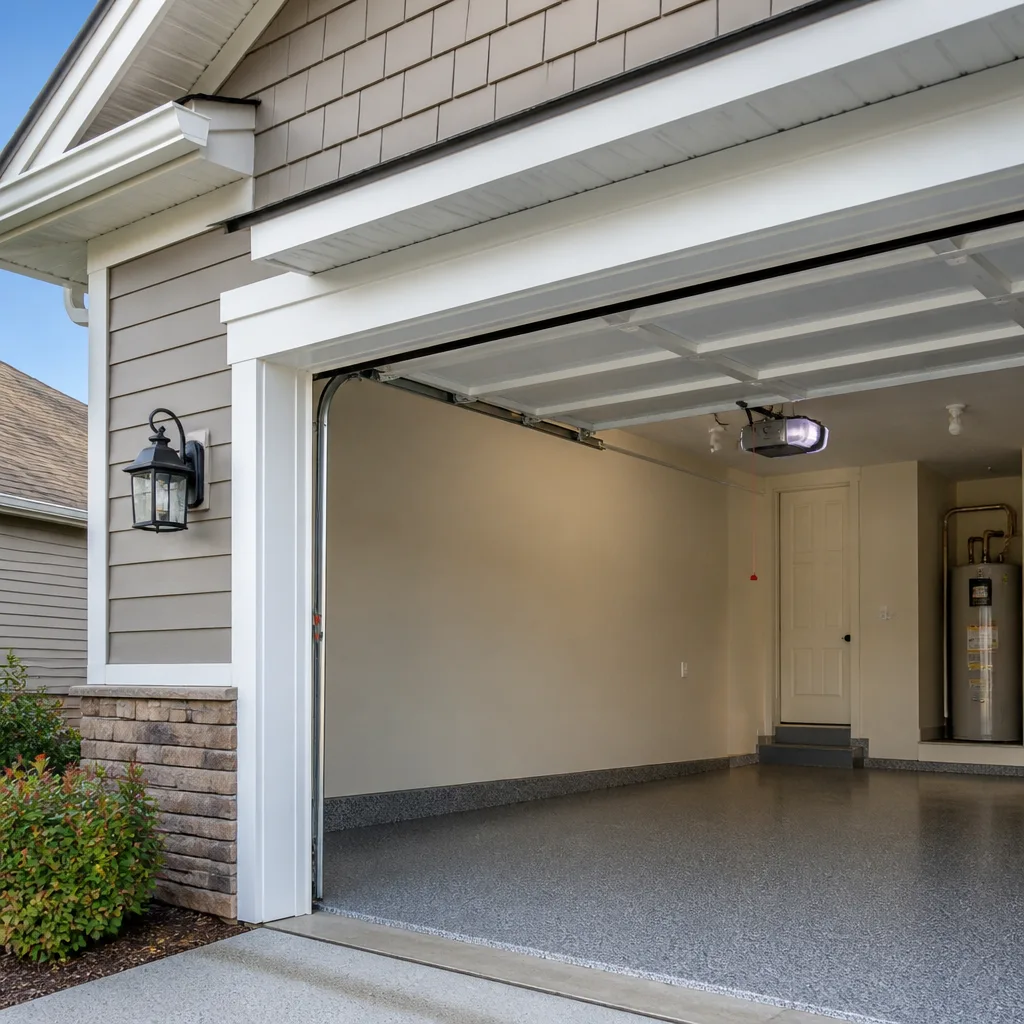 Chamberlain openers
Full 25-point door and opener safety check with every visit - springs, cables, rollers, tracks, and your LiftMaster or Chamberlain opener included
You get a price before we start. It does not change when the pro arrives.
Get your free estimateGarage Door Repair Maintenance Checklist for Kamm’s Corners Homeowners
Most people assume a snapped torsion spring is a wear-and-tear sentence handed down by age. In our experience, the number one cause is deferred lubrication – four minutes of work with a few-dollar spray can that nobody got around to. A garage door is the largest moving thing on a house, and it’s also the most ignored. You press the button, it goes up, you stop thinking about it. This guide changes that by explaining what each maintenance check is actually looking for, so you can tell a cosmetic quirk from a part that’s days away from failing. We’ll walk Kamm’s Corners homeowners through a real checklist, the Ohio-specific lubricants that hold up to our swings, and the tasks you should never touch yourself.
Quick Answer
A working garage door maintenance checklist for a Kamm’s Corners home covers monthly visual checks (springs, cables, rollers, weather seal), twice-yearly lubrication with a temperature-stable lubricant, seasonal balance and auto-reverse testing, and annual hardware tightening. Any task involving spring tension, cable adjustment, or the torsion bar is never a DIY job – those require a trained technician because the stored energy in a wound spring can cause serious injury.
Styles & brands we work with
- Raised-panel steel
- Carriage house
- Modern flush
- Full-view glass
- LiftMaster openers
- Chamberlain openers
Table of Contents
- Why a Checklist Beats a Repair Call in Kamm’s Corners
- The 15-Minute Monthly Walkaround
- What to Lubricate in Ohio’s Temperature Swings
- The Before-Winter and Before-Summer Sequence
- Testing Auto-Reverse and Force Settings on Any Opener
- Normal Wear vs. Failure in Progress
- DIY-Safe Tasks vs. Tasks Only a Pro Should Touch
- What Changes With Clopay, Amarr, Wayne Dalton and Craftsman
Why a Checklist Beats a Repair Call in Kamm’s Corners
Garage doors fail in stages. It’s almost never a sudden break with no warning – there are visual and audible clues weeks before anything lets go, but only if someone knows where to look. That’s the point of a maintenance checklist. It converts a passing worried glance into a specific answer: is that squeak just a dry roller, or is a hinge bracket pulling loose? A ten-minute walkaround monthly catches what a $200 repair call catches three weeks later.
The housing stock around Kamm’s Corners pushes this harder than you’d think. Most of the residential blocks here were built out in the mid-twentieth century, and plenty of original doors are still hanging. That means you’ll meet more single-panel tilt doors and early sectional doors than you would in newer suburbs, and those systems have different failure patterns than a modern insulated steel door. The same goes for openers – plenty of older chain-drive units still running strong, and plenty of newer belt-drive and Wi-Fi smart units layered on top.
None of that is a criticism of the neighborhood. It’s actually useful context: the wear points we look for in Kamm’s Corners homes are specific to what’s installed here. Just as importantly, the maintenance rhythm that fits a Cleveland-area climate doesn’t match what you’d read in a national guide written for Phoenix. When we talk about garage door repair in Kamm’s Corners, the honest version starts with what’s actually on your door, not a generic list.
- Prevention is cheap; correction is not. A few ounces of lubricant and a torque check each month cost almost nothing. A snapped spring or a fallen door section costs a lot more.
- Small issues compound. A loose hinge becomes a rattling panel becomes a bent bottom section within a season.
- Faithful records help. A laminated checklist on the garage wall with dates filled in tells a technician precisely where the door has been and where it’s going.
The 15-Minute Monthly Walkaround
This is the part you can absolutely do yourself, and it should be the part you actually do. Fifteen minutes at the start of the month, standing beside the door with a flashlight and your eyes. You’re not fixing anything – you’re cataloging what’s normal versus what’s changed.
- Look at the springs first. On a torsion system (springs mounted on a horizontal shaft above the door), check for gaps, rust streaks or a spring that looks stretched compared to the other. On an extension system (springs above the tracks on either side), look for the same. Any visible gap in a torsion spring means it has broken – stop and call. Do not try to raise or lower the door.
- Trace the cables. Both sides should be intact, with no fraying, kinks or slack. If a cable looks loose, do not tug on it. Note it and call.
- Check the rollers. Open the door to eye level and look at each roller in the hinge. It should be round, seated in the hinge, and turning freely. Broken rollers look cracked or missing their bearings.
- Wiggle the hinges. A hinge that moves when you nudge it, or has visible rust streaking out from the joint, is a candidate for replacement.
- Inspect the tracks. Look down each track for dents, bends or debris. Panels should run smoothly, without a hard shudder at any point.
- Run the weather seal between your fingers. The bottom rubber seal should still be soft. If it’s cracked or crumbling, it’s letting in cold air and moisture – a real issue in January.
- Listen. A door that rattles, grinds, squeals or thumps is communicating. Note the sound and where in the travel it happens.
Write it down. Even two lines a month (“door squealing left side at top of travel – added to lubrication list”) builds a history that can save you from guessing later. If you’d rather have our team review a full checklist on your door once a year, that’s a natural fit for a professional garage door repair inspection.
What to Lubricate in Ohio’s Temperature Swings
Here is the part the opening hook promised: the lubricant questions that decide whether your door runs quietly for two years or starts complaining within six weeks. Kamm’s Corners weather swings from humid 90-degree July afternoons down to single-digit January wind chills. A lubricant that thins too much in summer runs off the hardware. A lubricant that thickens in winter turns into a drag on every roller and hinge. You want something that behaves consistently across that range.
What works here
- White lithium grease (spray or tube) on the torsion bar, hinges and roller stems. It stays put across a wide temperature band and doesn’t spray everywhere when you apply it carefully.
- Silicone-based spray lubricant on the tracks, weather seal, and anywhere you don’t want a sticky residue attracting dust. It’s the right choice for the rubber bottom seal too – a light silicone wipe keeps it flexible through winter.
- Light machine oil is acceptable for a stubborn hinge joint that’s been cleaned first, but it doesn’t last as long as lithium.
What makes things worse
- WD-40 as a permanent fix. It’s a solvent, not a long-term lubricant – it thins quickly and leaves hardware dry after a couple weeks. Fine to clean a hinge; wrong as a monthly routine.
- Grease on the tracks. The track should be clean and dry. Grease traps dust and grit and turns the track into sandpaper. Wipe the tracks with a dry rag or silicone spray.
- Anything on the springs. Coil springs ride on each other; oiling them doesn’t help and can hold grit against the wire. Leave them alone.
- Motor oil. It runs off vertical hardware and makes a mess of the floor and the door panels. Not the right tool.
Application matters as much as the product. Spray a light coat onto a rag and wipe, rather than blasting the hardware directly, which sends lubricant where it doesn’t belong – the opener rail, the photo-eye lenses, and the door’s interior panels. Two small sprays per hinge joint, one on each roller stem, and a wipe of the torsion bar. That’s the four-minute routine.
The Before-Winter and Before-Summer Sequence
Ohio’s seasons have a particular rhythm that Kamm’s Corners homeowners learn early. Late fall is dry and mild until it isn’t. Winter brings wet, freeze-thaw cycles that work on hardware and rubber seals. Summer is humid enough to keep everything slightly swollen. Two seasonal inspections – one in October, one in April – are the schedule that works here. Each takes about 30 minutes and follows a specific sequence.
Before-winter inspection (October, before the first hard freeze)
- Lubricate everything on the schedule. Hinges, roller stems, torsion bar. Silicone on the weather seal. This is the big one – cold weather is unkind to dry hardware.
- Check the bottom seal and side seals. This is when cracks that let in cold air become visible. If the seal is hard or split, plan on replacing it before the freeze.
- Test the door balance. Disconnect the opener (pull the red release cord), lift the door halfway by hand, and let go. It should stay put. If it drops or rises, the springs are out of balance and you should call.
- Test the auto-reverse. Details in the next section.
- Inspect the driveway side. Standing water or ice at the threshold tells you about drainage, and a threshold that ices up can freeze a metal bottom section in place. Clear the debris, check for pooled water, and note if frost drives them up harder than usual.
- Check the opener’s force setting. More on that below.
Before-summer inspection (April, as temperatures rise)
- Re-lubricate. Winter runs the hardware through a lot of cycles; spring is the reset.
- Clear the tracks of winter grit. Salt, sand and debris tracked in by car tires end up in the lower track curve. Wipe it out by hand.
- Check the photo-eye lenses. Clean, aligned, and unobstructed. If winter knocked one slightly out of place, the opener may be refusing to close for reasons you haven’t noticed.
- Tighten visible hardware. Hinge bolts, track brackets, opener rail bolts. Do not touch the spring tensioner or cable drums.
- Look for rust on panels. Especially on the bottom panel, which sees the most moisture. Nicks and scratches are best touched up before summer humidity gets to them.
- Balance test again. Springs loosen with use; after the winter cycle count, this catches drift.
We’ve seen doors in Kamm’s Corners that fail specifically because nobody did the October sequence. The spring that lets go in January was usually telling you in October – a little slower to lift, a slightly louder rattle. If either inspection turns up something that needs a trained set of eyes, a dedicated garage door opener repair visit can sort the operator-related issues; for door-and-spring problems, we handle the whole door.
Testing Auto-Reverse and Force Settings on Any Opener
Every modern garage door opener sold in the U.S. is required to have two safety features: a photo-eye system that stops the door if something crosses the beam, and either a pressure sensor or a physical-contact reversal test that reverses the door when it hits an obstruction. These are the two tests that matter most because they’re the ones that protect kids, pets, and the family car. You can test both yourself – on a LiftMaster, a Chamberlain, a Genie, a Craftsman, or any other modern system – without special tools.
The photo-eye test
- With the door fully open, look at the two small sensor lenses mounted near the floor on each side of the opening. Confirm the LED on each is lit (most brands show a steady, occasionally blinking, light when aligned).
- Press the wall button or remote to close the door.
- While the door travels down, wave a broom handle or similar object quickly across the beam between the sensors.
- The door should reverse direction immediately. If it keeps descending, the system is failing the safety test – stop using the door and have it serviced.
The contact-reversal (force) test
- Open the door fully.
- Lay a piece of 2×4 lumber flat on the floor in the center of the door’s path.
- Close the door. When it contacts the wood, the door should reverse within about an inch and a half of travel before reopening.
- If the door pushes hard into the wood before reversing, or fails to reverse, the force setting is too high or the safety system has a fault.
Adjusting force settings
Different brands put the force adjustment in different places – the rear panel of a Craftsman chain drive, the side of a LiftMaster, a menu on newer Wi-Fi openers. We don’t recommend homeowners adjust force settings themselves. The setting is a compromise between “close firmly enough to seal” and “reverse gently enough when it meets a child” – too far in either direction is a real problem, and the correct position depends on the door’s weight and spring balance. That’s a job for a technician with a scale and a history of doing this. What you can and should do is test the setting twice a year and call if either test fails. If the door doesn’t reverse on the wood block, that’s not a “we’ll get to it” issue.
Normal Wear vs. Failure in Progress
This is where a lot of homeowners go wrong – not by ignoring the checklist, but by not knowing how to interpret what they see. Normal wear is quiet, cosmetic, and slow. A part that’s failing has graduated to specific warning signs. Here’s how we draw the line in our own inspections.
- Roller noise. A single squeak that responds to lubrication is normal. A knocking or grinding that persists after lubrication is a roller with a bad bearing, and it should be replaced before it flat-spots the track.
- Panel appearance. Minor dents and surface scratches are cosmetic. A panel that’s visibly bent, or where seams are separating at the frame, is a structural problem.
- Spring condition. A fine, light rust haze is common and harmless. A spring with visible gaps, a darker stretch of compression on one side, or a sag in the middle is telling you something.
- Door travel. A door that runs steadily with a slight rattle is normal for older hardware. A door that shakes, shudders, or stops halfway is reporting a balance or opener problem.
- Cable appearance. Intact, tight cables with a slight oil sheen are fine. Fraying strands or visible slack means a cable has stretched or a drum has slipped – stop using the door.
- Opener sound. A modern belt-drive opener is nearly silent. A chain drive has some rumble. A repeated clicking, or a motor that runs but the door doesn’t move, points to the opener’s gear, drive or logic board.
The pattern to internalize: wear is repeatable, occurs at the same point in the travel, and responds to lubrication or a small tightening. Failure is new, worsens over a couple of cycles, and doesn’t respond to the easy fixes. When you see failure patterns, don’t “check again next week.” That’s how a small problem becomes a snapped spring at 7 am on a school morning, and that’s the call you want to avoid.
DIY-Safe Tasks vs. Tasks Only a Pro Should Touch
There is a clean list of what you should and should not do yourself. The line isn’t about your mechanical ability – it’s about stored energy. A wound torsion spring holds enough force to break bones, and a loose cable under tension is a projectile. We don’t say this to scare you into a service call; we say it because the garage door is a genuinely dangerous piece of equipment when handled wrong, and even seasoned technicians treat springs with deliberate caution.
DIY-safe
- Visual inspection of springs, cables, panels, tracks and hardware
- Lubrication of hinges, rollers, torsion bar and weather seal (not springs)
- Wiping tracks clean with a dry rag or silicone spray
- Cleaning photo-eye lenses and realigning them (they’re designed to be adjustable by hand)
- Tightening visible hinge, bracket and opener-rail bolts with a hand wrench
- Testing auto-reverse and contact-reverse
- Cleaning and lightly painting minor panel scuffs
Professional only
- Spring replacement or adjustment (torsion or extension)
- Cable adjustment, replacement, or drum work
- Replacing torsion bars, center bearing plates, or end bearing plates
- Adjusting force settings on the opener
- Straightening bent track sections beyond a minor nudge
- Any work on a door with a visible spring gap or slack cable
- Full door replacement or panel replacement on a bent section
If you’re ever unsure where a task falls, the safe answer is: leave it, and call. A trained professional will tell you on the phone whether you’re dealing with a small tweak or a proper repair. We’ve also seen doors where the homeowner did the right maintenance and still needed a spring because the door itself had been out of balance for two years – the checklist catches the pattern, not the underlying imbalance.
What Changes With Clopay, Amarr, Wayne Dalton and Craftsman
The checklist itself is brand-neutral, but a few brand-specific quirks are worth knowing because they influence what “normal” looks like on your door. We work across the major names you’ll find on Kamm’s Corners homes, and here’s what we see most often.
Clopay and Amarr insulated sectionals are common on mid-century homes that were updated over the years. Their hinges and rollers hold up well, and the maintenance rhythm is straightforward. What we watch for on these is the bottom seal – the aluminum retainer can loosen over a few winters, and the rubber can pull away at the ends. When inspecting, run your hand along the seal from end to end and check for gaps.
Wayne Dalton doors show up in a couple of different styles here, including older tilt-style doors that ride on jamb hardware rather than tracks. The tilt-door pivot hardware needs an annual look – it’s often less greased than a track system because it’s less visible. A dry pivot turns into a worn pivot, and a worn pivot means a sloppy, noisy door.
Craftsman openers – especially the older chain drive units with the yellow wall button – are still doing daily work in a lot of Kamm’s Corners garages. Their gear and sprocket assemblies are usually the first parts to wear, and the symptom is often a soft “click click click” with the door not moving. If you hear that during your walkaround, note it: it’s not a lubrication issue, it’s mechanical wear.
Whatever brand is on your door or opener, the practical reassurance is that we work on what you already have. Springs, openers, panels, and full-door replacement – one call covers it. If a repair does eventually become a replacement, that’s a normal transition and it’s handled by the same team that’s been looking after the door. For anybody weighing new options, our garage door installation page covers what measuring and scheduling actually look like.
Common Mistakes to Avoid
- Oiling the tracks. It’s the most common mistake we run into on Kamm’s Corners doors, and it’s counterintuitive because oil feels like maintenance. Grease on the track traps grit, which turns a smooth surface into sandpaper. Keep the tracks clean and dry, and lubricate the hardware that actually moves.
- Ignoring a slow lift in cold weather. A door that gets “lazy” as temperatures drop is often a spring problem, not a cold-weather quirk. Springs lose tension over time, and the first place you notice is in the fall and winter. Catching it early avoids a full replacement.
- Spraying the springs. Coil springs ride on each other and oil on the coils holds grit against the wire, which accelerates wear. Leave them dry; inspect them often.
- Skipping the October and April sequences. In Ohio’s freeze-thaw climate, seasons are the useful unit of maintenance, not “whenever I remember.” A seasonal reminder on your phone is worth the effort.
- Adjusting force settings “to be safe.” Raising the force to stop a door reversing on a slightly out-of-balance track is exactly the wrong fix – it disables the safety system that protects kids and pets. The right fix is a spring and balance correction.
- Painting over rust on a panel. Rust on the bottom panel means moisture is getting in. Paint on top of it traps the moisture and looks worse in a season. Clean, treat, then paint.
- DIY spring and cable work. Even homeowners who are handy around the house should not touch a wound torsion spring. The potential for serious injury is real; this is the one task that’s a hard no.
See the difference
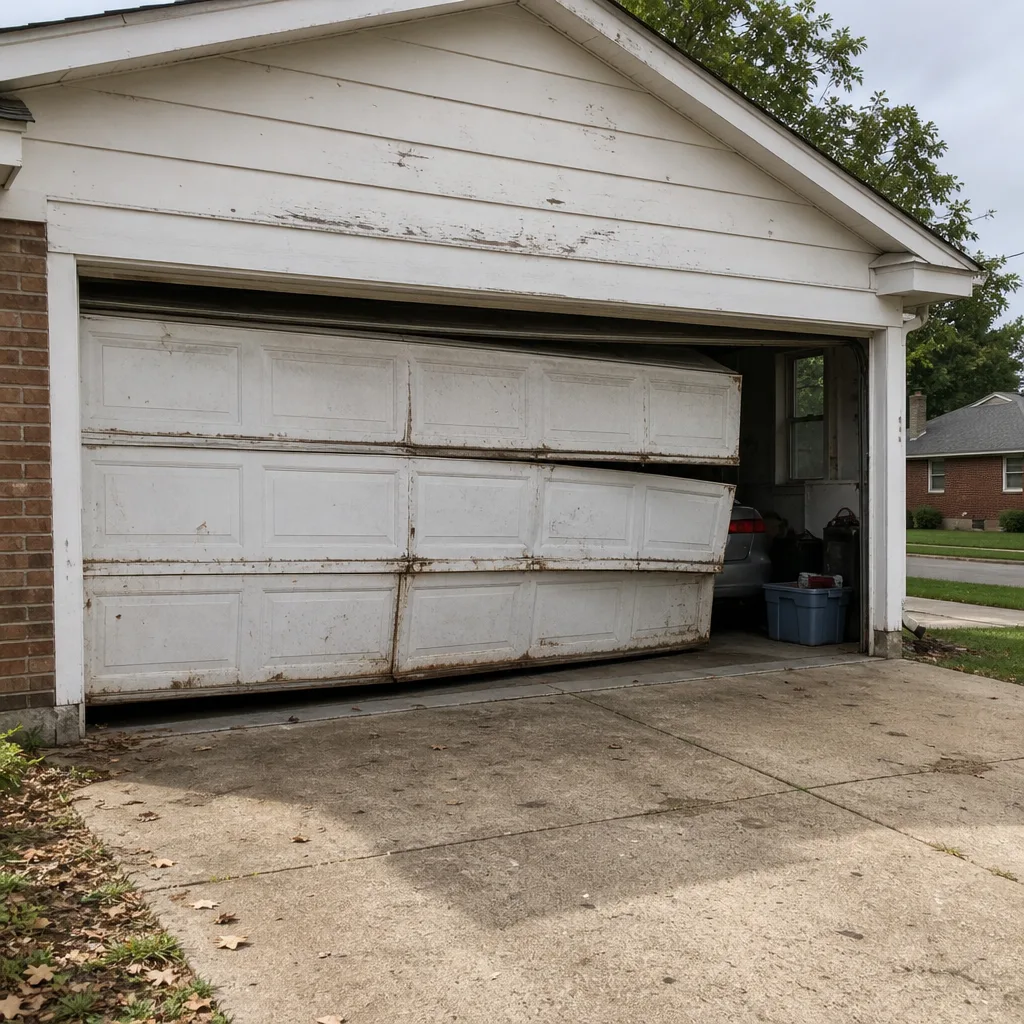 Before
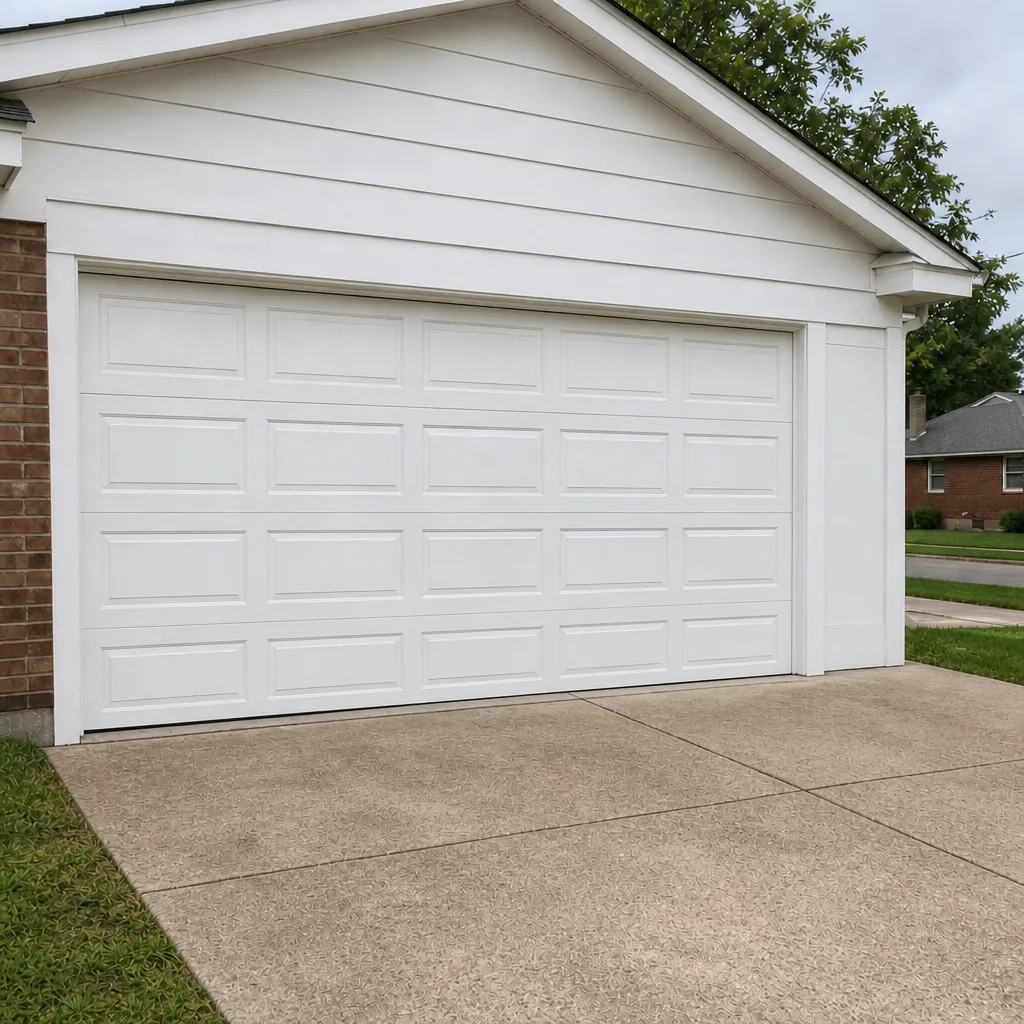 After
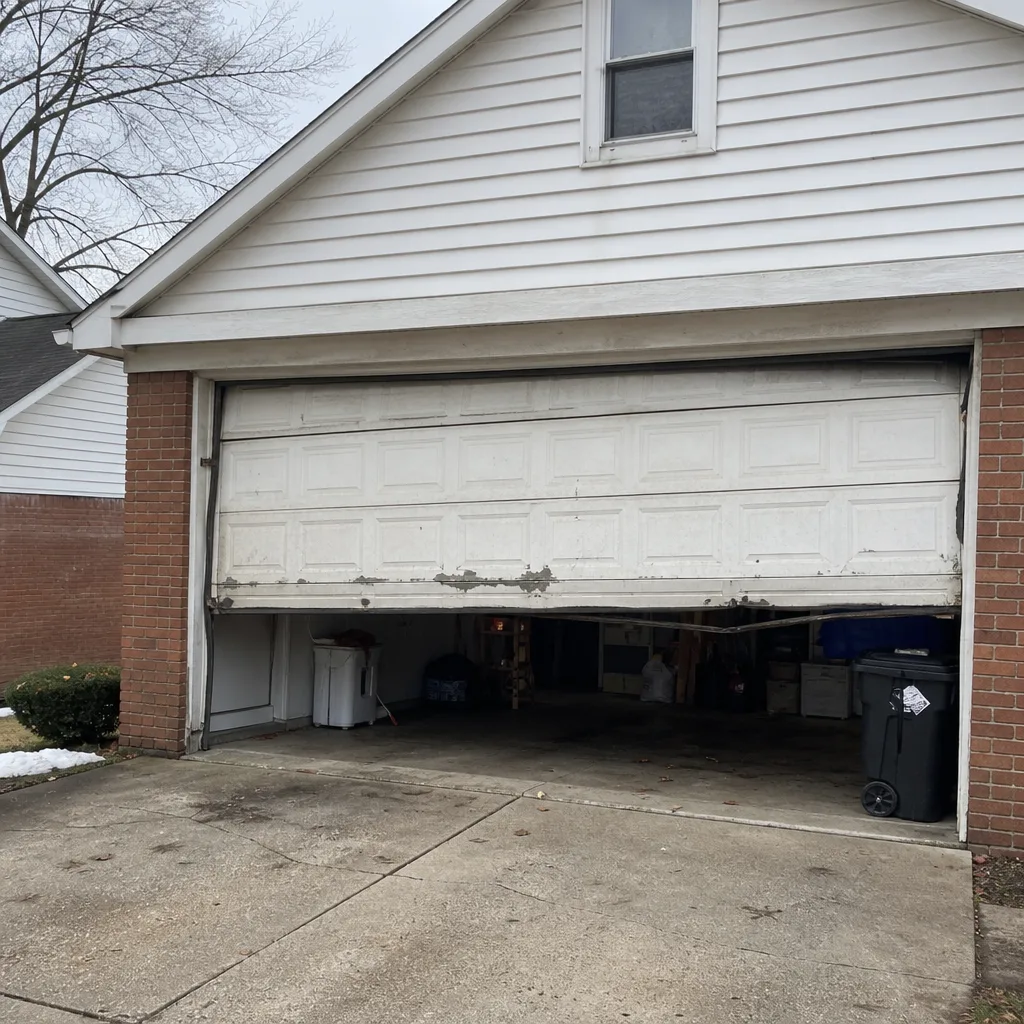 Before
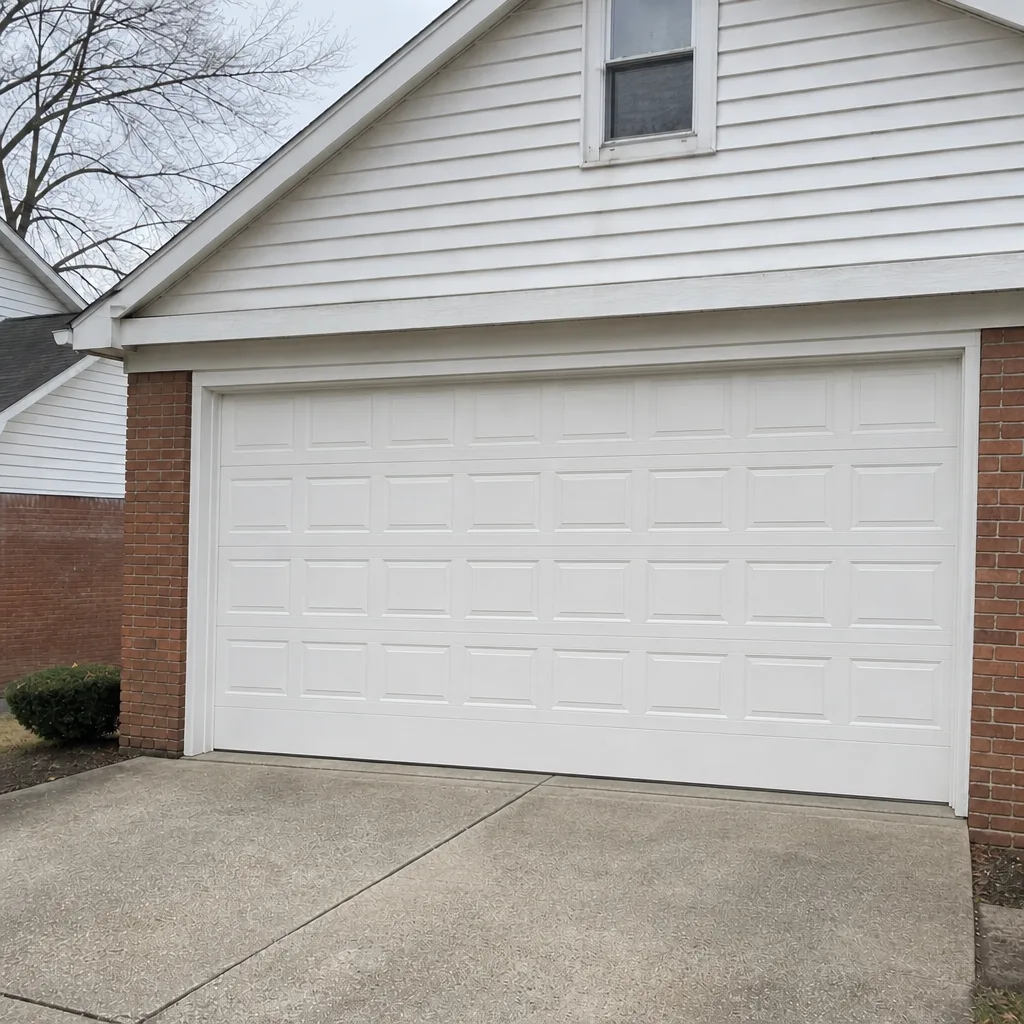 After
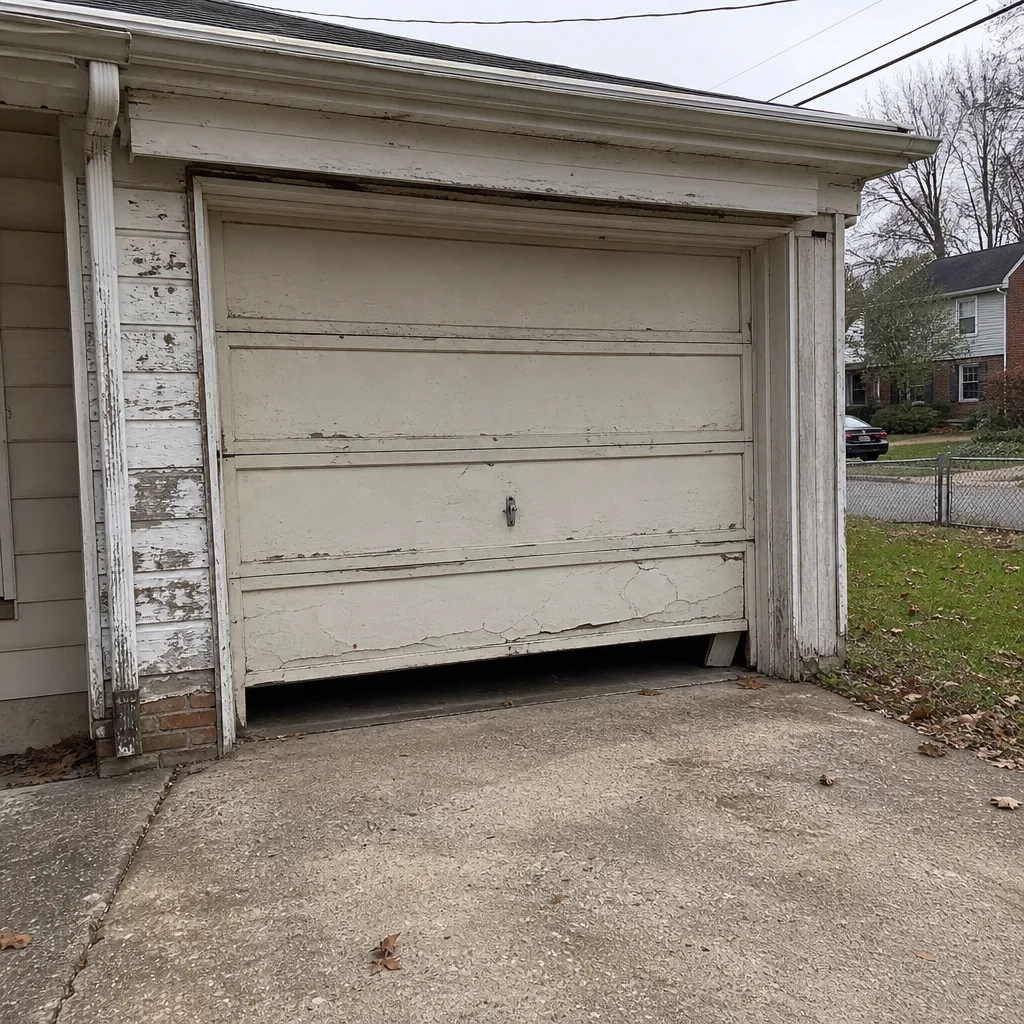 Before
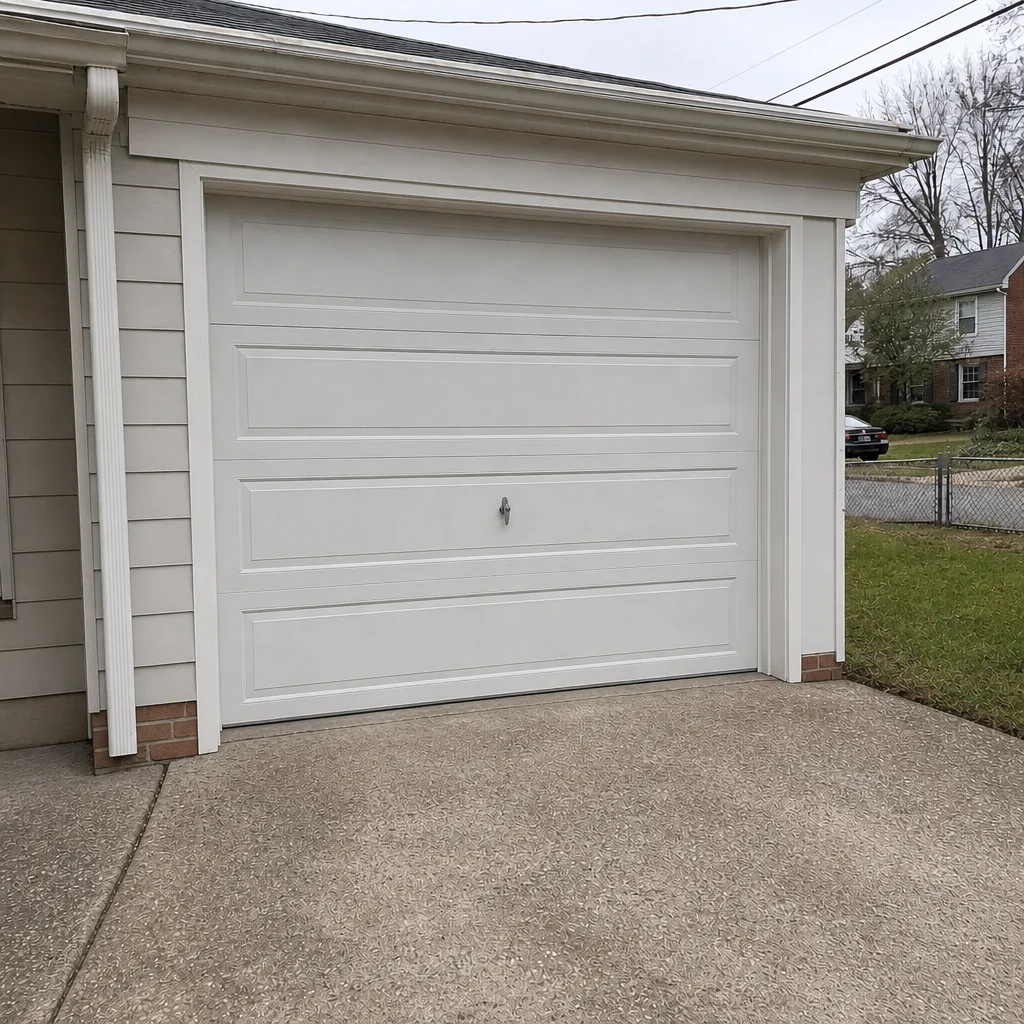 After
When to Call a Professional
Some maintenance is yours; some belongs to a trained technician. Call when you find a visible gap in a spring, slack or fraying cables, a door that fails the reverse test, an opener that runs but doesn’t move the door, a door that’s visibly out of balance on the manual lift test, or any panel that’s structurally bent. Also call if you’re simply not sure what you’re looking at – a professional inspection answers that cleanly. Our technicians have up to 11 years of experience across all the major door and opener brands, and garage door repair in Kamm’s Corners is what we do. Garage Door Repair Kamm’s Corners offers free estimates in Kamm’s Corners – call (888) 839-8159. Prices are quoted and agreed before any work starts, so there are no surprises on the invoice.
Frequently Asked Questions
Twice a year is the baseline – once in October before the first freeze and once in April as things warm up – plus a spot touch-up on any squeaky hinge in between. Ohio’s temperature swings are wide enough that two seasonal applications keep the hardware reliable; a single annual lubrication is usually not enough here.
No. Torsion springs are under extreme tension and can cause serious injury if handled without the right tools and technique. This is the one maintenance task we tell every homeowner to leave to a trained technician, no matter how handy they are around the house.
A door that just needs maintenance improves after lubrication or a light tightening, and the noise is steady and repeatable. A door that’s failing shows new symptoms that get worse over a few cycles, doesn’t respond to lubrication, and often involves visible problems – spring gaps, cable slack, bent panels. If you’re not sure which side of the line you’re on, call and describe what you see.
On Craftsman chain-drive openers and other legacy units, that’s usually a worn gear or sprocket assembly inside the opener head. On belt-drive and modern Wi-Fi openers, it’s more often a stripped drive gear or a logic board issue. Either way it’s a repair, not a maintenance item – the opener needs a trained look, and we handle LiftMaster, Chamberlain, Genie, Craftsman and other major brands.
Lay a 2×4 flat in the door’s path and close it – the door should contact the wood and reverse within about an inch and a half. That’s the whole test. It requires no tools and takes under a minute. If the door pushes the wood or fails to reverse, the safety system needs professional service before the door gets used again.
Yes, for the simple reason that a garage door gives weeks of warning before a real failure, and a ten-minute monthly walkaround catches those warnings. The specific issues we see most in Kamm’s Corners – snapped springs in January, rusted bottom panels, worn opener gears – are almost always visible before they become an emergency call. Maintenance doesn’t prevent every repair, but it lets you choose the timing instead of the door choosing for you.
The Bottom Line
A good maintenance checklist tells you what to look at and what you’re looking for. The monthly walkaround, the twice-yearly lubrication, the October and April seasonal sequences, and the auto-reverse and force tests – those are the tasks that keep a Kamm’s Corners garage door running reliably through a four-season climate. Spring adjustment and cable work stay in a professional’s hands, full stop. Everything else is yours to do, and doing it well means you’ll call us for a planned repair or installation instead of an emergency service call. Springs, openers, panels, and full doors – one call covers it, wherever the checklist leads.
If your own inspection turns up anything you’re not sure about, or it’s simply time for a professional once-over, call Garage Door Repair Kamm’s Corners at (888) 839-8159 for a free estimate. We look at the door, tell you what we see, and quote the work in writing before anyone picks up a tool.
Written by the team at Garage Door Repair Kamm’s Corners.